DIY Fridge Magnets: Make Clay Refrigerator Art at Home
Make cute clay creativity fridge magnets at home! This easy DIY project is a fun craft idea. Use clay to shape animals, food, or any refrigerator art.

Transform Your Refrigerator: Make DIY Clay Fridge Magnets at Home
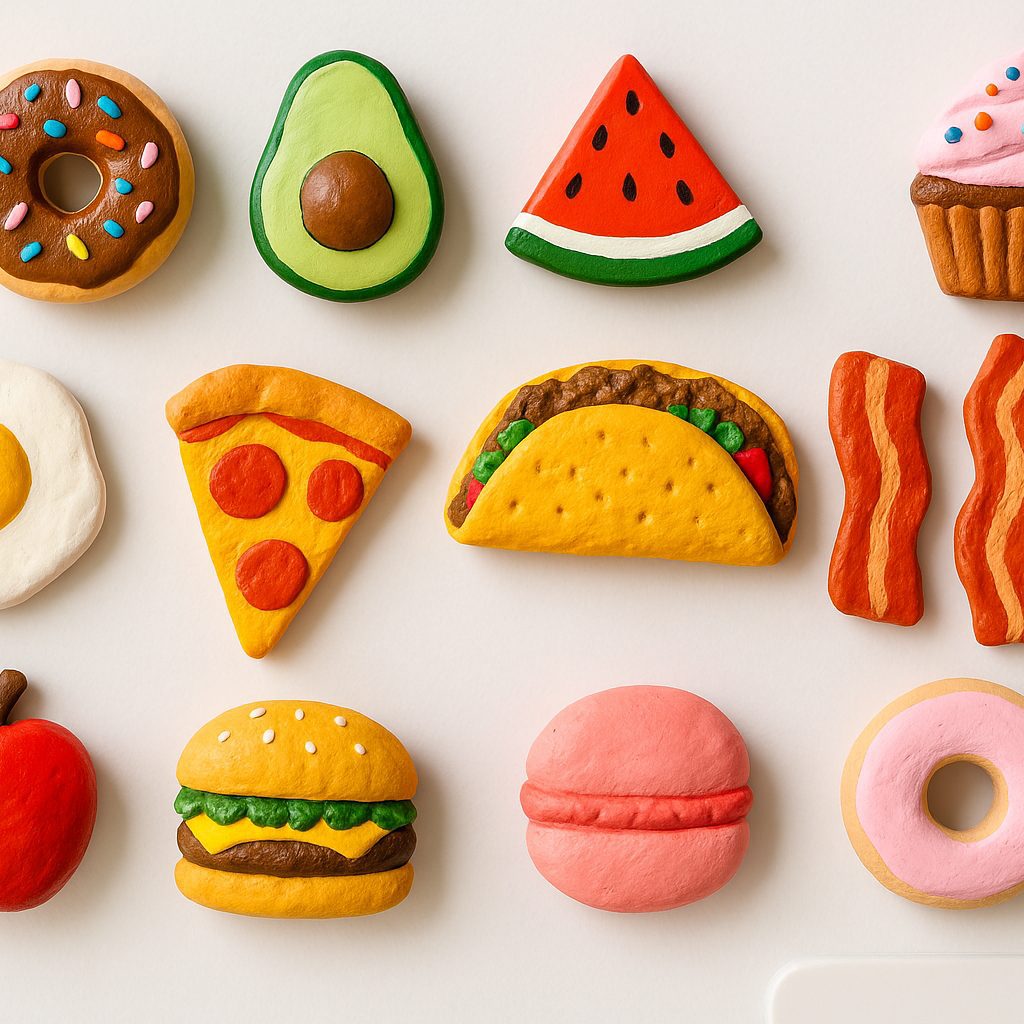
Last winter I stared at my blank refrigerator and thought, These doors need more personality. I grabbed some leftover air dry clay, shaped a tiny slice of pepperoni pizza, painted it, and stuck a magnet on the back. One small win snowballed into a colorful collection, and friends kept asking for a guide. This article walks you through every step so you can make your own DIY food – inspired magnets – adding a splash of art and flavor to your fridge without leaving the kitchen.
How to Make Your Own Clay Fridge Magnets
What materials do you need for DIY clay magnets?
| SUPPLY | WHY YOU NEED IT | QUICK TIP |
|---|---|---|
| Air dry clay | Lightweight, no kiln required | Store unused clay in a zip bag so it stays soft. |
| Acrylic paints + brushes | Adds color to each shape | Buy primary colors; mix to save money. |
| Magnets (½-inch discs) | The sticking power | Stronger discs hold heavier pieces on the refrigerator. |
| Super glue or E-6000 | Glue to attach discs | Work in a ventilated area. |
| Mod Podge sealer | Seal paint & add sheen | Matte finish gives a clear coat. |
| Rolling pin, cookie cutters | Help roll clay evenly | A pen works in a pinch. |
| Toothpick & sculpting tool set | Add texture & details | Use a fork for faux grill marks. |

😊 Fun Fact: A smaller magnet plus a lighter mini slice of cake make an easy combo that won’t slide down the door.
Step-by-step guide to make clay fridge magnets
- Roll the clay to ¼-inch size on wax paper.
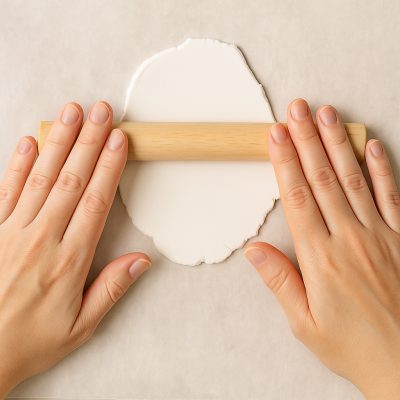
- Shape: Cut, sculpt, or pinch your chosen food form – think donut, taco, or avocado.
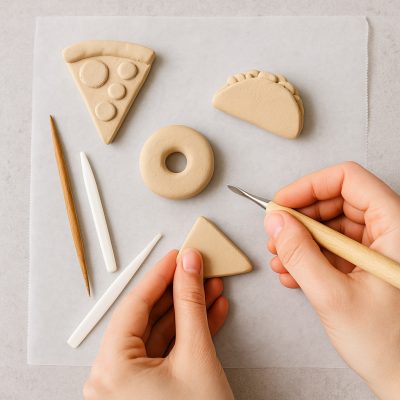
- Add details: Use a toothpick to poke sesame-seed dots or swirl frosting lines.
- Let pieces dry until completely dry (24–48 hrs).
- Sand rough edges – easier painting later.
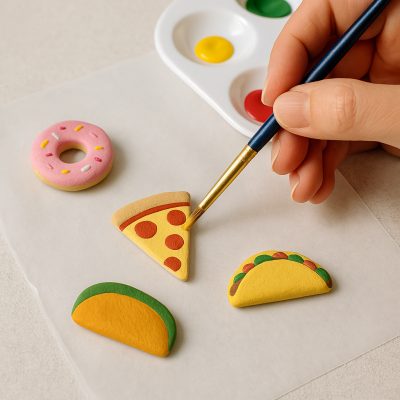
- Paint with thin layers; let each coat dry.
- Seal with Mod Podge; wait one hour.
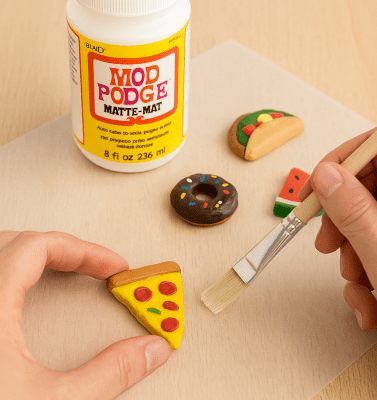
- Glue a disc magnet to the back; press 30 sec.
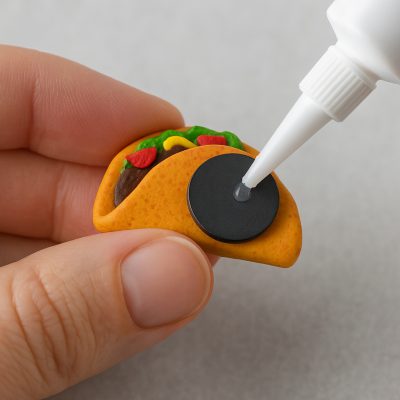
- Cure overnight before you attach to the fridge.
Tips to ensure your magnets are completely dry before use
- Elevate on cookie racks so air hits every surface.
- Flip after 12 hours to prevent bending.
- If you see darker patches, moisture remains – be patient!
Ideas and Inspiration for Your DIY Magnet Project
Explore fun and creative craft ideas for magnets
Need inspiration? Check this mini table:
| CRAFT IDEA | CLAY SHAPE | EXTRA DETAIL |
|---|---|---|
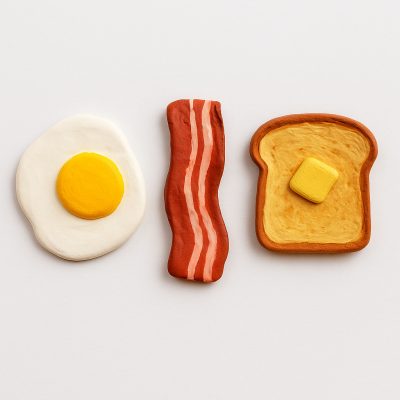
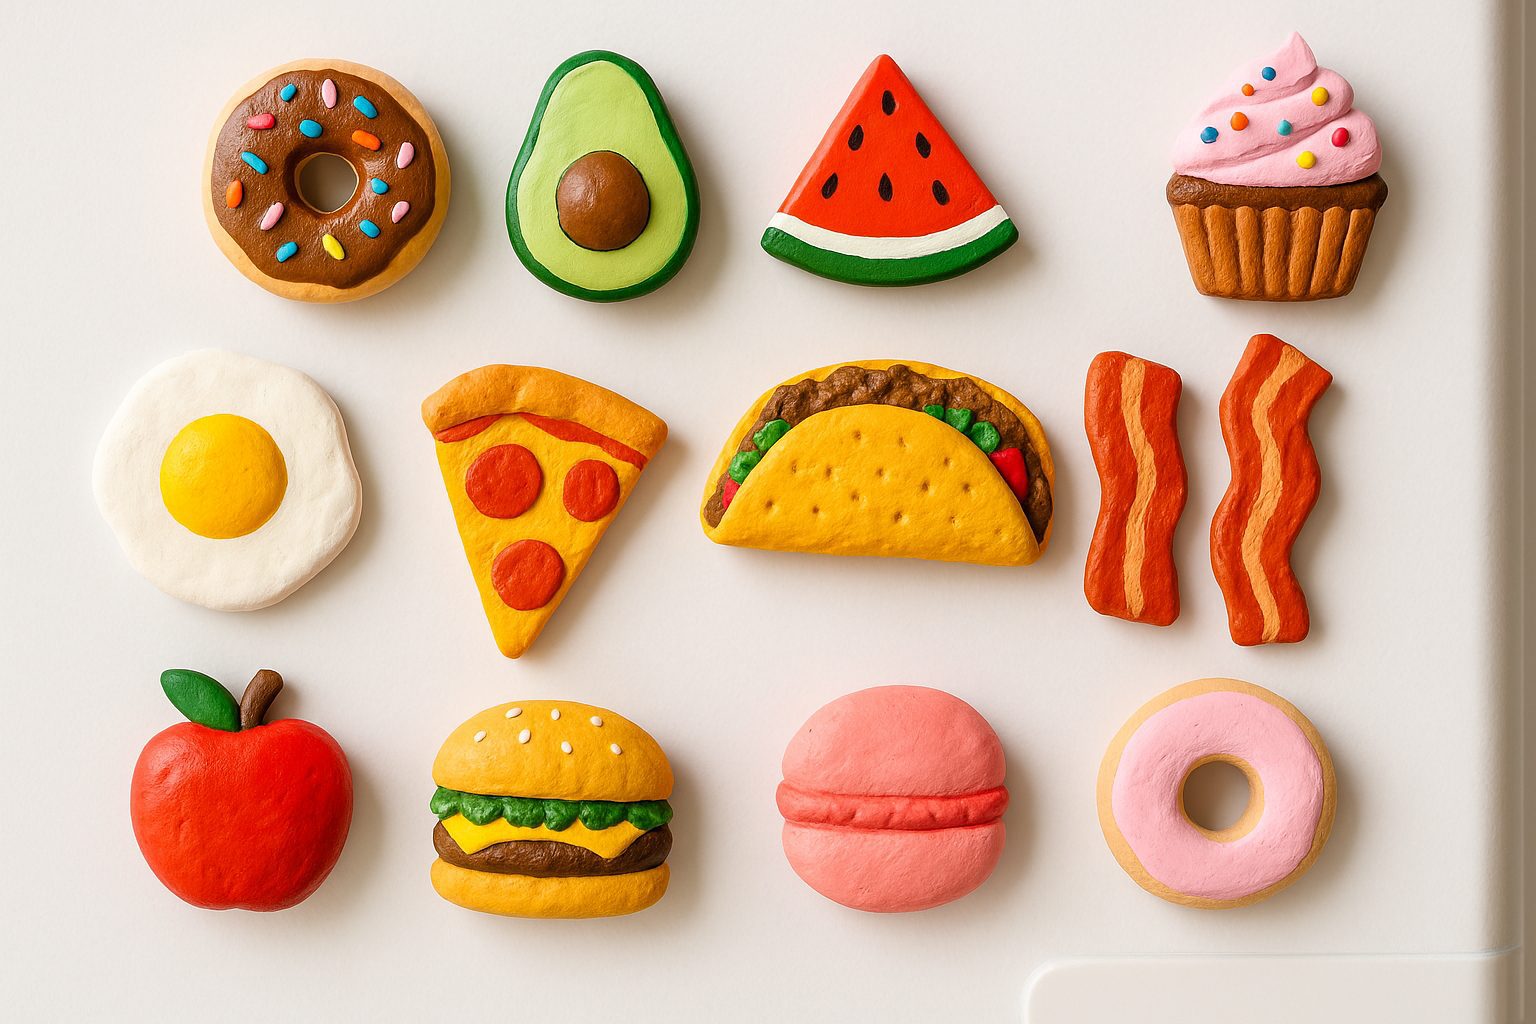
| Breakfast Set | Mini fried egg & bacon strip | Glossy varnish for greasy look |
| Farmers-Market Veggies | Carrot, beet, broccoli | Texture lines with knife tip |
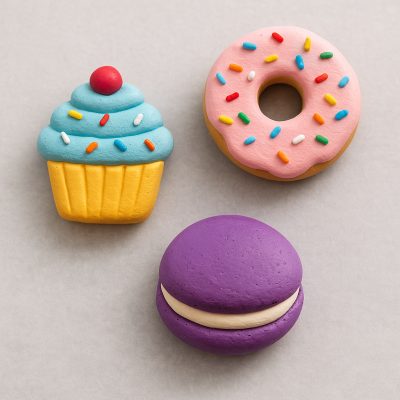
| Dessert Platter | Cupcake, macaron, donut | Sprinkle glitter while sealant is wet |
How to design cute and animal themed clay magnets
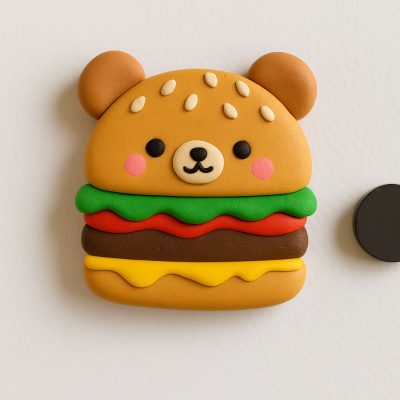
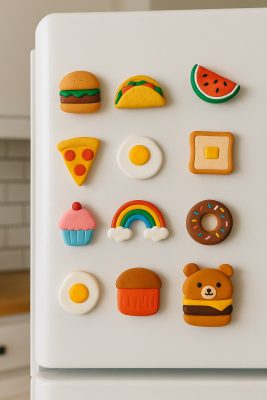
- Turn a burger into a cartoon bear by adding ears.
- Sculpt a sushi roll with a cat face – instant cute overload!
- Use pastel paints; they read friendly on any fridge.
Using food shapes to create interesting fridge magnets
Iconic slices-pizza, watermelon, pie – give instant recognition. They also make great gifts because everyone has a favorite food memory linked to these classics.
Get Creative: Painting and Decorating Your Clay Magnets
How to use painting techniques to enhance your magnet design
- Dry-brushing adds toasted edges on bread.
- Dotting with a blunt pin sprinkles seeds on burger buns.
- Ombre blending turns popsicles into summery gradients.
Using mod podge to seal and protect your artwork
Two thin layers of Mod Podge: first seals paint; second adds a light gloss. This guard stops kitchen grease from staining your art.
Adding texture and embellishments for a unique look
Press coarse salt into soft clay for citrus-zest bumps; brush off after drying. Or press fabric for waffle-cone ridges – easy creativity, huge impact.

Attaching Magnets: The Finishing Touch
How to attach magnets to your clay designs safely
- Scuff the magnet and clay surface with sandpaper.
- Dab strong glue; avoid excess so it won’t ooze.
- Hold until set; rest flat while curing.
Choosing the right glue to ensure strong adhesion
Gel super glue grips porous clay best, but epoxy works if you need extra bond for heavier clay magnets.
Testing your magnets on the refrigerator
Slide upward and let go. If gravity wins, swap for a bigger disc or add a second magnet.
Essential Tips for a Successful Craft Project
Common mistakes to avoid when making clay fridge magnets
- Skipping primer – paint may peel.
- Using thick clay – overweight pieces fall off.
- Forgetting to clean the fridge door before testing.
How to fix easily broken or damaged magnets
Repair chips with a small blob of fresh air dry clay; re-paint and seal. For loose discs, pry off, sand, and re – glue.
Care and maintenance for your clay fridge magnets
Wipe gently with damp cloth; avoid soaking. Re-coat with Mod Podge yearly for a like-new shine.

Key Takeaways
- DIY clay fridge magnets turn an ordinary refrigerator into a mini gallery.
- The process is simple, fun, and budget-friendly for any crafty beginner.
- Patience while pieces dry ensures durable results.
- Use strong adhesive and proper sealing for long – lasting color.
FAQ
How long does air dry clay take to dry?
Thin pieces dry in 24 hrs; thicker ones up to 48.
Can I make cute magnets with kids?
Yes-choose non-toxic glue and supervise the tool usage.
What if I don’t have Mod Podge?
Spray acrylic sealer works, but two coats give better scratch resistance.
Is oven-bake clay okay?
Sure, just follow package instruction and let cool completely dry before painting.
Best way to store unused clay?
Wrap in plastic wrap, then zip bag; keep in a cool spot at home.
Do the magnets scratch my fridge?
No, if you sand the back flat and cover edges with sealant.
Can I sell these at craft fairs?
Absolutely-a low-cost project that draws eyes and offers quick profit.
How big should each magnet be?
Stay under 2 inches; smaller sizes stick better and weigh less.
Which tool makes the neatest edges?
Metal cookie cutters deliver precise lines, but hand-sculpting adds charm.
Why use strong glue instead of hot glue?
Hot glue can pop off in cold kitchens; cyanoacrylate or epoxy lasts.
Now grab your rolling pin and unleash that fridge-worthy creativity!
zzz
DIY Clay Fridge Magnets
Equipment
- Acrylic paints
- Paintbrushes
- Magnets (½-inch discs)
- Super glue or E-6000
- Mod Podge or sealer
- Wax paper
- Toothpicks or sculpting tools
- Rolling pin or similar
- Optional: glitter, cookie cutters, coarse salt, fabric
Instructions
- Roll the Clay

- Roll the air dry clay on wax paper to about ¼ inch thickness.
- Shape Your Design

- Sculpt or cut your desired shapes — like pizza, donut, taco, etc.
- Add Details
- Use a toothpick or sculpting tools to create texture, swirls, or markings.
- Let Dry
- Let your clay pieces dry completely (24 to 48 hours). Flip halfway through.
- Sand (Optional)
- Lightly sand any rough edges for smoother painting.
- Paint

- Paint the pieces using acrylic paints. Let each coat dry fully.
- Seal

- Apply 1–2 thin layers of Mod Podge or acrylic sealer to protect your design.
- Glue the Magnet

- Attach a magnet disc to the back using strong glue. Press for 30 seconds.
- Cure Overnight
- Let everything rest flat for at least 12 hours before using on the fridge.
Nutrition Disclaimer
The Chef Marcy is not a dietician or nutritionist, and any nutritional information shared is an estimate. If calorie count and other nutritional values are important to you, we recommend running the ingredients through whichever online nutritional calculator you prefer. Calories can vary quite a bit depending on which brands were used.


