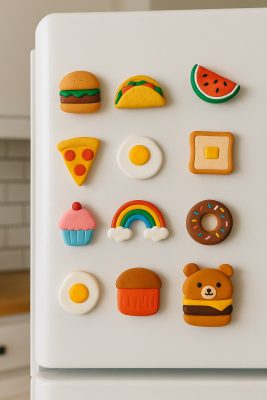
DIY Clay Fridge Magnets
Learn how to make colorful and creative clay fridge magnets shaped like food or cute characters. This fun and easy project uses air dry clay and basic tools—perfect for beginners, crafters, or even kids (with supervision).
Equipment
- Acrylic paints
- Paintbrushes
- Magnets (½-inch discs)
- Super glue or E-6000
- Mod Podge or sealer
- Wax paper
- Toothpicks or sculpting tools
- Rolling pin or similar
- Optional: glitter, cookie cutters, coarse salt, fabric
Instructions
- Roll the Clay
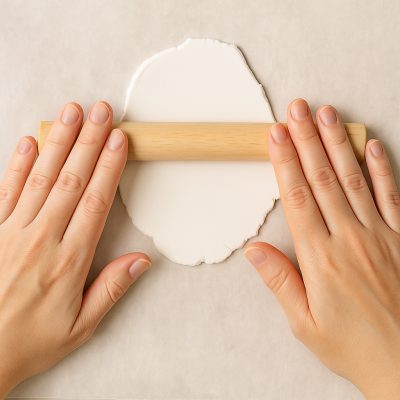
- Roll the air dry clay on wax paper to about ¼ inch thickness.
- Shape Your Design
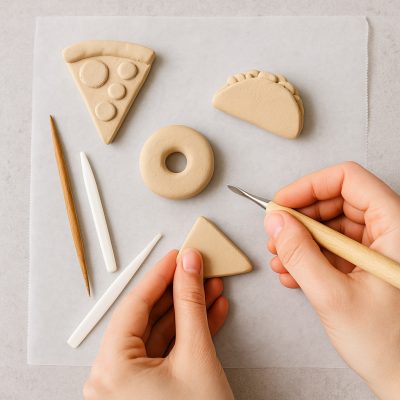
- Sculpt or cut your desired shapes — like pizza, donut, taco, etc.
- Add Details
- Use a toothpick or sculpting tools to create texture, swirls, or markings.
- Let Dry
- Let your clay pieces dry completely (24 to 48 hours). Flip halfway through.
- Sand (Optional)
- Lightly sand any rough edges for smoother painting.
- Paint
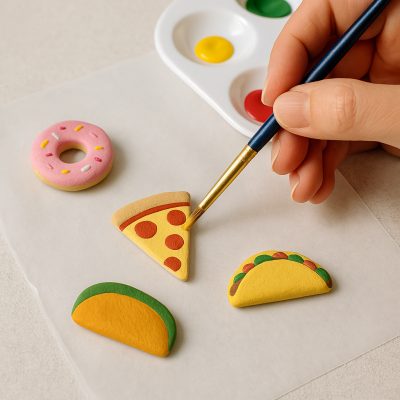
- Paint the pieces using acrylic paints. Let each coat dry fully.
- Seal
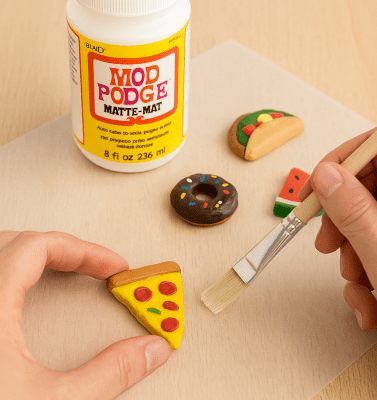
- Apply 1–2 thin layers of Mod Podge or acrylic sealer to protect your design.
- Glue the Magnet
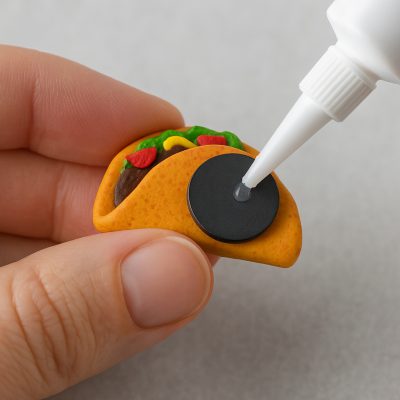
- Attach a magnet disc to the back using strong glue. Press for 30 seconds.
- Cure Overnight
- Let everything rest flat for at least 12 hours before using on the fridge.